The first time I burnt something onto my enameled Dutch oven, I panicked a little.
There was a dark, crusty ring around the base that wouldn’t budge with a regular scrub, and my first thought was that I’d ruined a genuinely expensive pot in one clumsy weeknight dinner. I hadn’t. It came off in about ten minutes, and I felt slightly silly for how worried I’d been.
If you’ve landed here with a similarly scorched pot, or you just want to know how to look after this thing properly so you never end up in that situation, here’s everything I’ve learned.
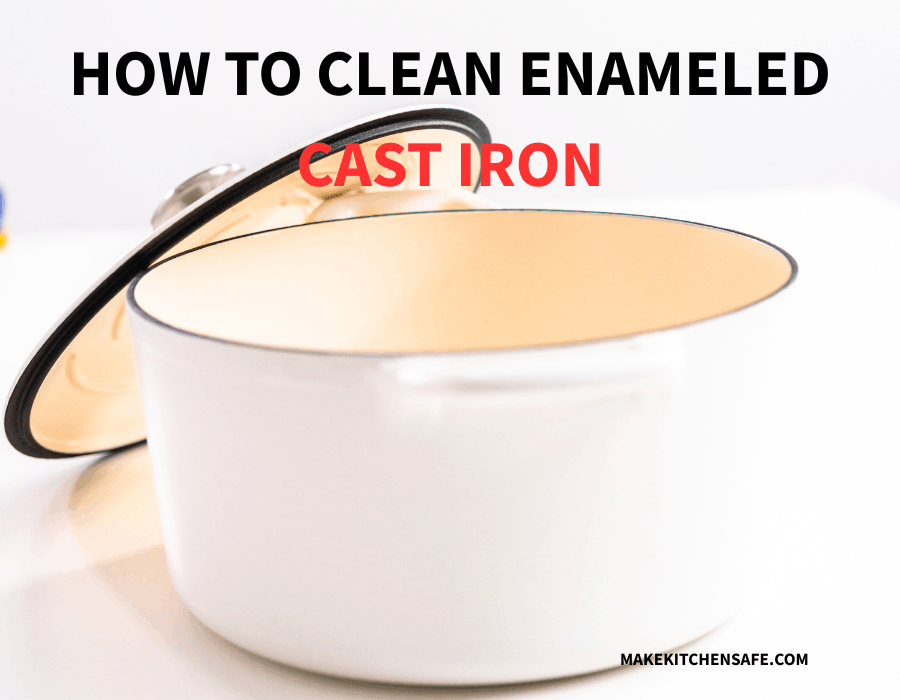
How to Clean Enameled Cast Iron
For everyday cleaning, this is genuinely simple much simpler than bare cast iron, actually, since there’s no seasoning layer to protect.
Let the pot cool a little first. Going straight from hot stovetop to cold water risks thermal shock, which can crack the enamel. A few minutes of cooling is all you need, not a full hour.
Wash with warm, soapy water and a regular sponge or a soft-bristled brush. Unlike bare cast iron, there’s no “never use soap” rule here. The enamel is basically glass, and soap doesn’t touch it any differently than it touches your dishes.
Avoid anything abrasive. I stay away from Steel wool, scouring pads, and harsh abrasive cleaners as they can scratch the enamel surface over time, and a scratched surface is more prone to staining and, eventually, chipping. I use soft scrub sponge.
Dry it before you put it away. Not because the enamel will rust the way bare iron does, but because sitting wet in a cupboard is just an easy habit to avoid altogether.
How to Clean Burnt-On Food From Enameled Cast Iron
This is the part that actually brings most people here, so let’s get into it properly.
Fill the pot with warm water and a good squirt of dish soap, and let it soak for fifteen to twenty minutes. This alone loosens a surprising amount of stuck-on food.
If that doesn’t fully do it, make a paste with baking soda and a small amount of water, spread it over the burnt areas, and let it sit for another ten to fifteen minutes before scrubbing gently with a non-abrasive sponge. Baking soda is mildly abrasive in exactly the way you want here enough to lift burnt residue, gentle enough not to scratch the glaze.
For genuinely stubborn spots, a longer soak with a bit of baking soda dissolved directly in the water, brought to a gentle simmer on the stove for a few minutes, tends to finish the job. The heat combined with the soda loosens even the truly welded-on bits.
What I’d avoid: don’t reach for steel wool out of frustration, and don’t scrape at it with a metal utensil to speed things up.
Both risk scratching the enamel, and burnt food genuinely does come off with patience and soaking. It just takes longer than you’d like in the moment.
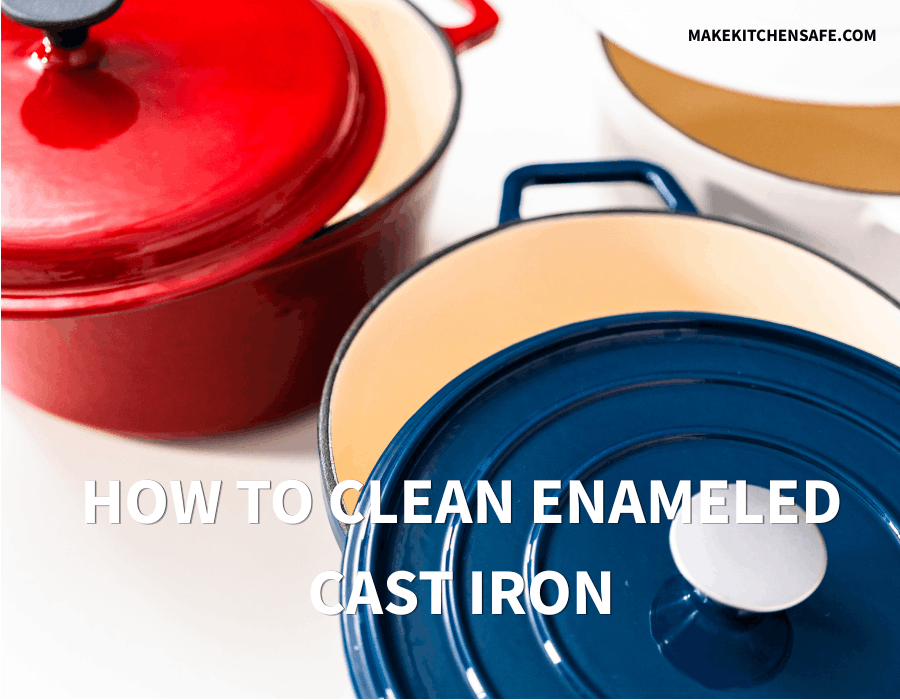
Is Enameled Cast Iron Dishwasher Safe?
Most manufacturers, including Le Creuset and Staub, say yes, technically. If we covered this briefly in our post on whether enameled cast iron is actually safe, here’s the fuller answer.
The enamel itself isn’t chemically damaged by dishwasher detergent the way bare cast iron’s seasoning would be, there’s no seasoning to strip.
The real risk is physical, not chemical: enamel can chip where it knocks against other dishes during a wash cycle, and repeated hot-wash, cool-dry cycles over years can accelerate wear on the glaze.
My honest habit, and what I’d actually recommend: hand wash it. It’s genuinely no more effort than washing a mixing bowl, and it protects a piece of cookware you likely paid a fair amount for.
If you do use the dishwasher occasionally, place it where it won’t knock against anything else during the cycle, and skip it entirely for anything with delicate enamel or a light interior color where chips would show most. I have always handwash mine.
How to Use Enameled Cast Iron Safely
A few habits make a real difference in how long the enamel stays in good shape.
- Stick to low or medium heat for most cooking. Enameled cast iron holds and distributes heat beautifully, so you rarely need high heat to begin with and extreme heat is one of the more common ways people accidentally damage the enamel over time.
2. Use wooden or silicone utensils rather than metal.
I’m super careful about this. Frankly enamel cast iron cookware are not cheap and metal utensils can scratch the enamel surface. While one scratch won’t ruin the pot, it’s an easy habit to build from day one.
3. Avoid extreme temperature swings.
Don’t add cold liquid to a screaming-hot pot, and don’t put a hot pot directly onto a cold, wet surface. Thermal shock is the enamel’s real enemy, more than almost anything else on this list.
Let it preheat gently rather than blasting it with high heat from a cold start, especially if you’re using it on the stovetop rather than in the oven.
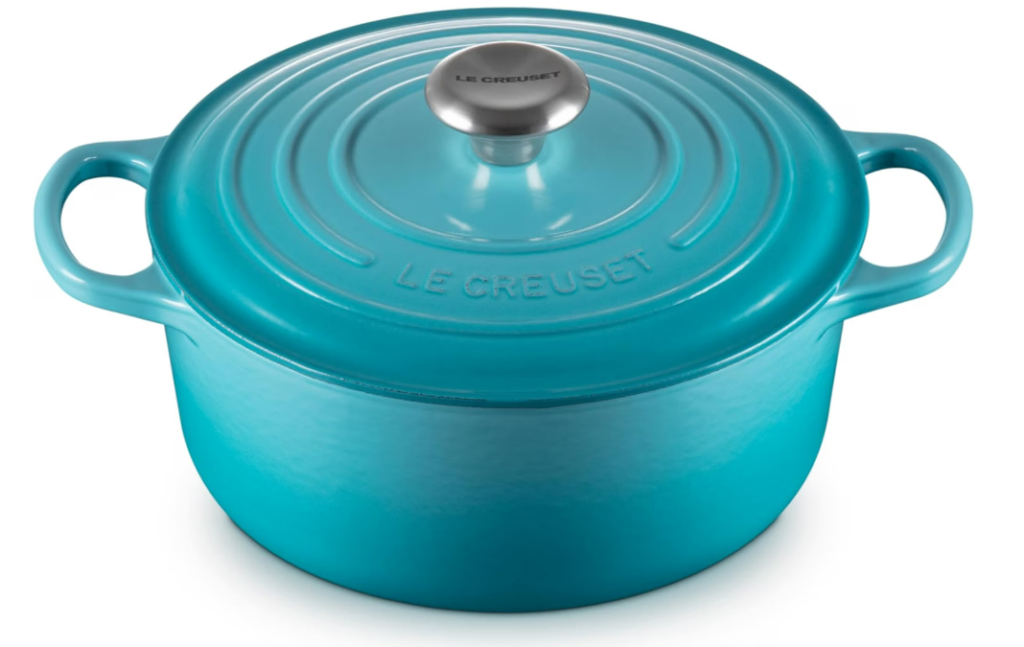
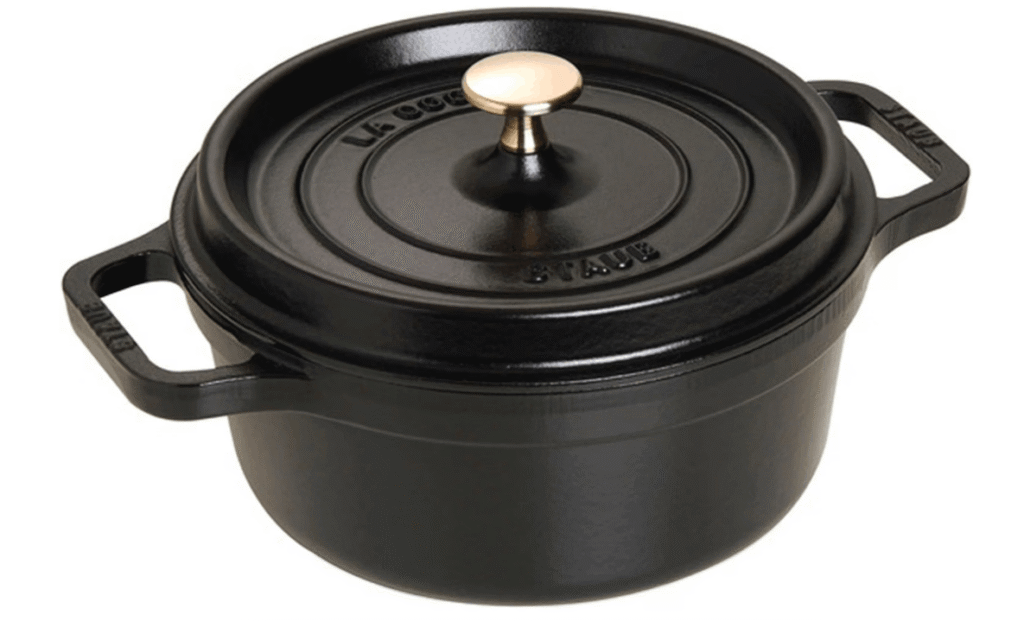
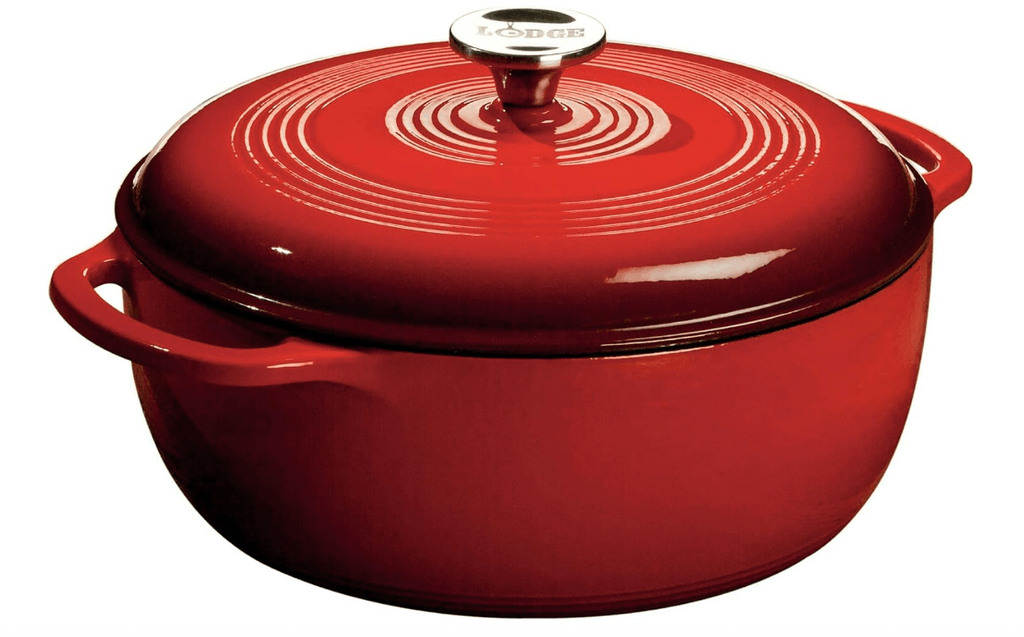
How to Store Enameled Cast Iron Without Damaging It
Storage is where a lot of enamel damage quietly happens, often without anyone noticing until there’s a chip.
If you’re stacking it with other cookware, put a folded towel, a paper towel, or a dedicated pan protector between pieces. The weight of one pot sitting directly on another’s enamel surface is a common, slow cause of scratches and chips.
Store the lid separately if you can, or at least with something soft between the lid and the pot. Lids knocking against the pot’s rim during storage is one of the most common, most preventable sources of chipping.
Mine have their own private parking. The only thing I realized missing is the soft cushion between lid and the pot rim.
Keep it somewhere it won’t get bumped by other heavier items being pulled in and out of the same cupboard. If storage space is tight, it’s worth giving your enameled pieces the more protected spot, or putting bubble wrap in between the pots -given how much more they usually cost to replace than a basic saucepan.
The Bottom Line
So, how to clean enameled cast iron, in short: soap and warm water for everyday cleaning, baking soda and patience for burnt-on food, hand washing over the dishwasher when you can manage it, and a soft layer between pieces in storage. That’s genuinely the whole routine.
None of this is complicated. It’s mostly just the opposite of what people assume just a bit more care around impact and temperature swings than you’d give a stainless steel pan.